Can a studio render from 2D drawings alone? What it needs, and what it has to assume
Every architectural render starts as 2D drawings. What each drawing tells the studio, and what gets assumed when one is missing.
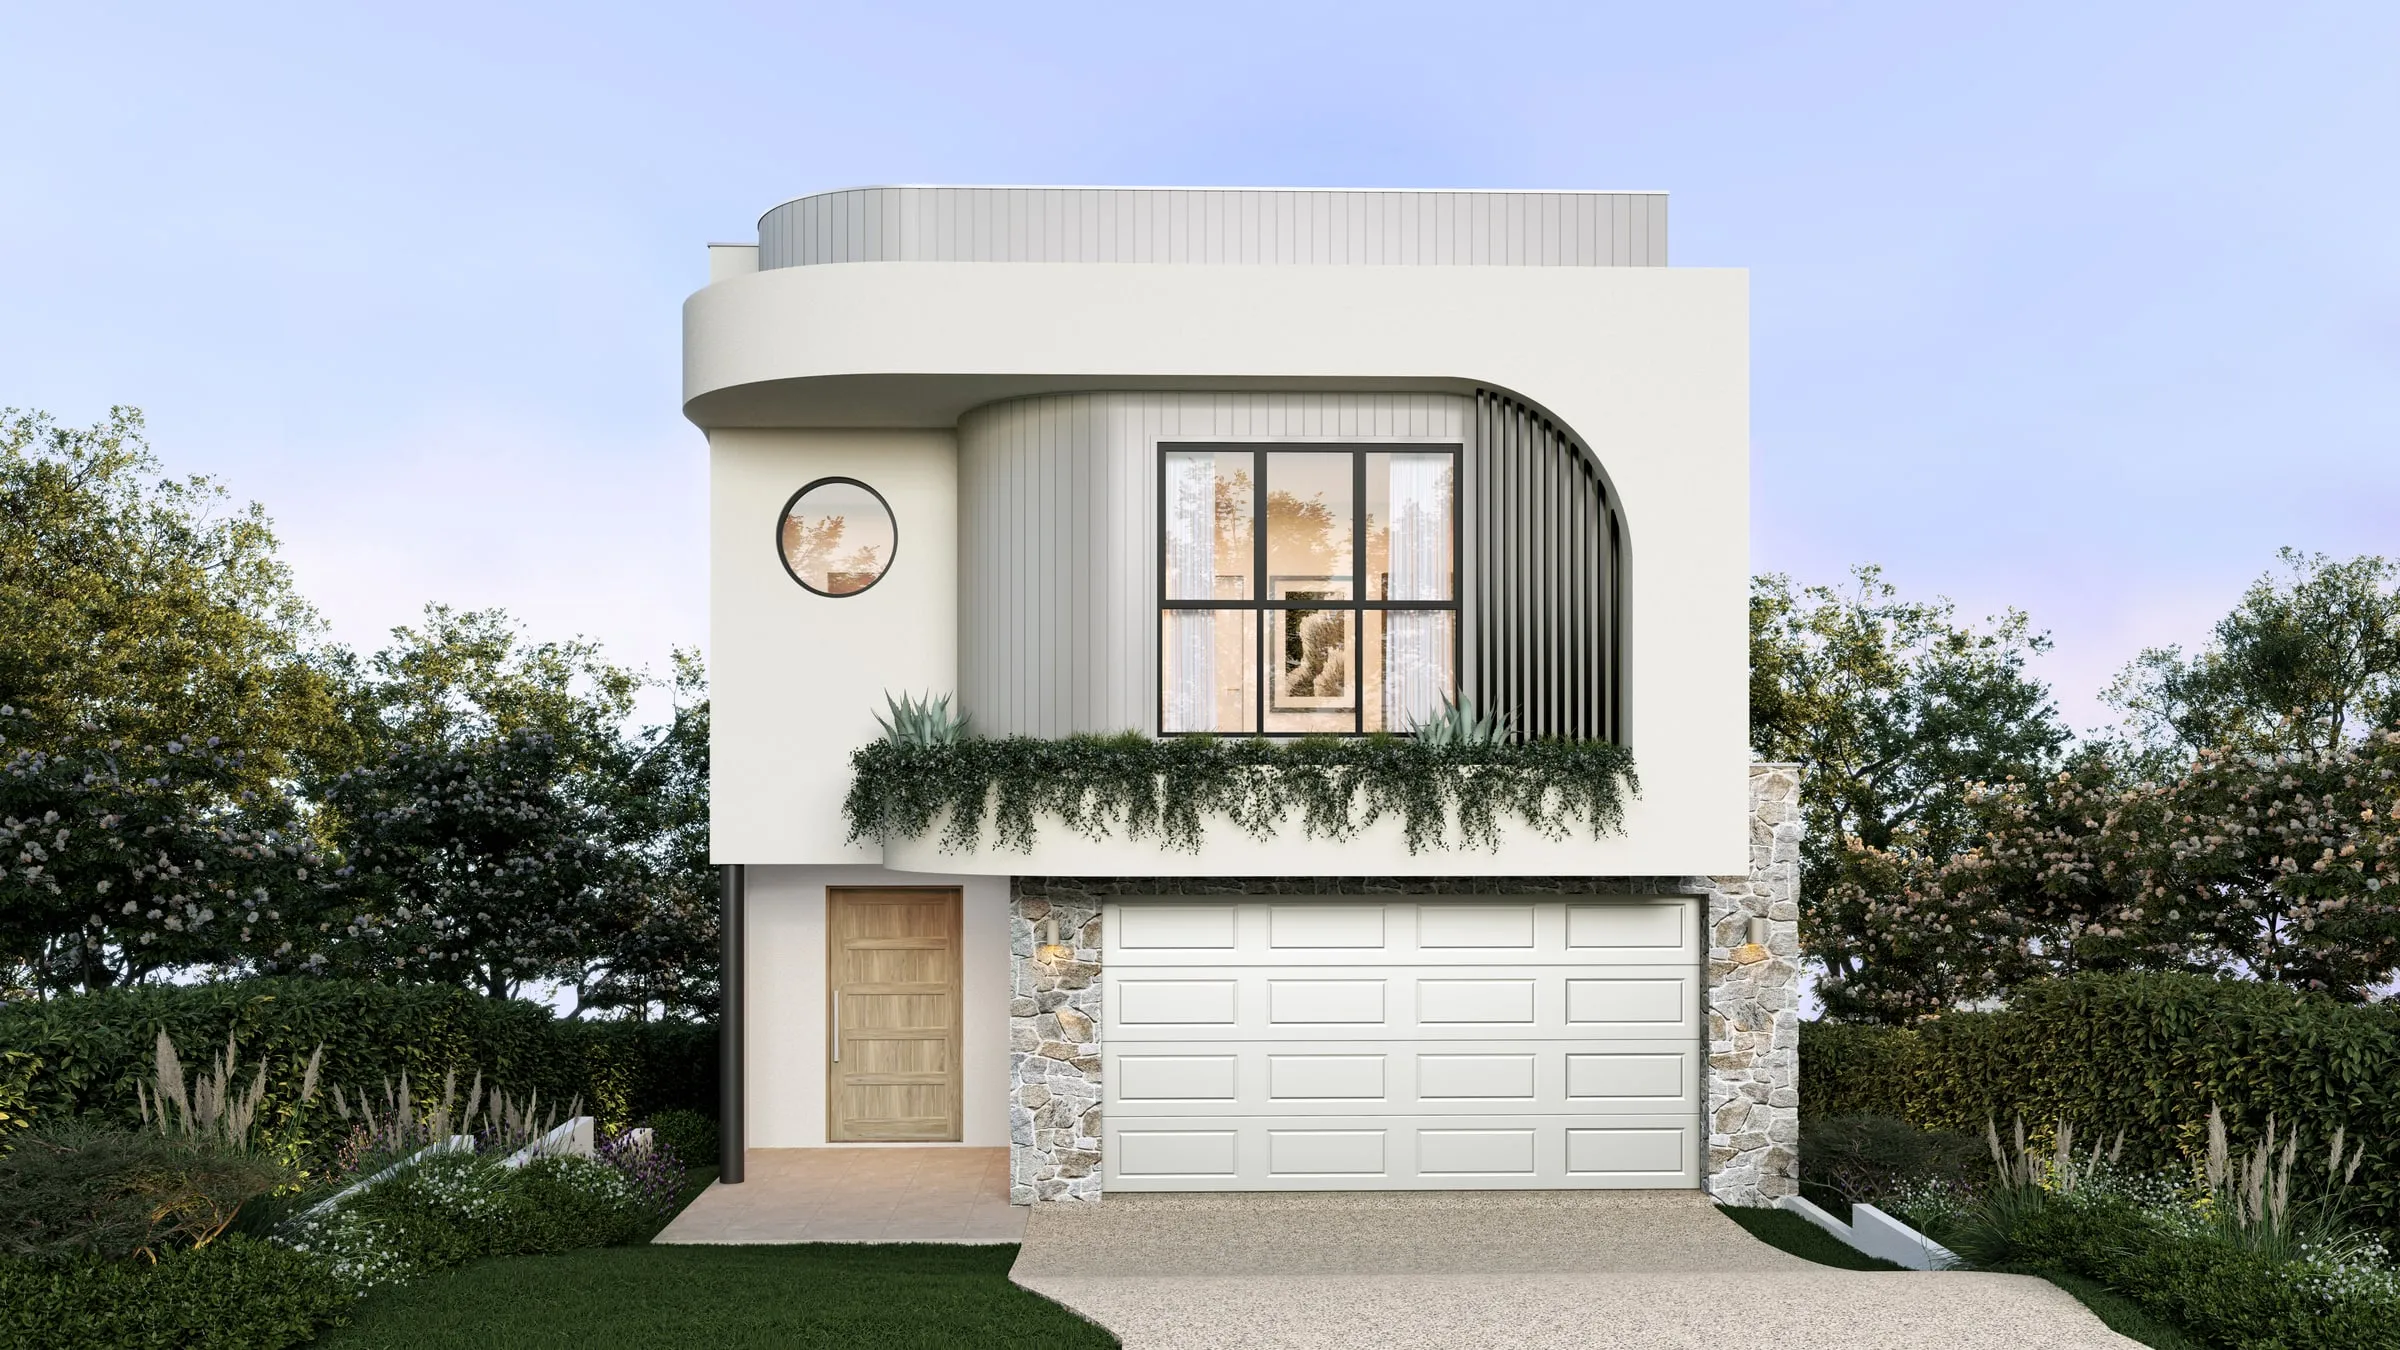
Yes. Almost every architectural render begins as a set of 2D drawings, and turning them into a photoreal image is the studio’s job. The useful question is a different one: how many of the decisions in the image are already on paper, and how many will the studio have to make for you?
Every decision the drawings leave open gets filled in by someone. If it is filled in by an assumption, it shows up later as a revision.
What each drawing tells the studio
A floor plan gives the footprint: wall positions, room sizes, where the doors and windows sit along each wall. It says nothing about how tall anything is.
Elevations give the building its face — window and door sizes and head heights, the roof form, how the façade is arranged and where each material starts and stops. Of everything a studio receives, elevations decide most about how an exterior view will look.
Sections give the vertical story: ceiling heights, floor-to-floor heights, steps, voids and level changes. Interior views depend on them.
A site plan with a north point and levels places the building on the ground: which way it faces, how the site falls, the boundaries, the driveway. Without it, the sun is a guess.
A finishes schedule names the materials. A landscape plan says what is planted and paved. Site photos show what is really next door. For a renovation or an extension, the existing house counts as a drawing too — see renders for renovations and extensions.
If the design exists as a model as well — Revit, SketchUp or IFC — send it alongside the drawings. It can shorten modelling, but the drawings stay the reference. 3D modelling and 3D rendering explains why.
When something is missing: what gets assumed
- No elevations: window sizes, roof pitch and the arrangement of the façade are assumed. The risk is a building that is right in plan and wrong from the street.
- No sections: ceiling and floor-to-floor heights are assumed, and proportions can look off — interiors most of all.
- No site plan, north point or levels: orientation and slope are assumed. Sunlight lands on the wrong side, or a sloping site is shown flat.
- No finishes schedule: every material and colour is assumed. “Dark brick” gets interpreted, and the interpretation costs a revision round.
- No landscape plan: planting, paving and fences are assumed, and the landscaping can read as part of the proposal.
- No site photos or survey: the neighbours and the street are assumed, and the building is shown in a context it doesn’t have.
- No joinery or lighting drawings (interiors): cabinetry, fittings and where the light comes from are assumed. The result is an interior that has been styled rather than designed.
None of these stops a project. A good studio fills each gap with a sensible, stated assumption, lists those assumptions in its written scope, and asks before guessing on anything that matters. An AI image generator fills the same gaps without listing them, which is where AI images and 3D renders part ways.
Where assumptions get caught
On our projects, the cheapest place to find an assumption is the grey-box: the building and every camera are set up with no materials at all, and sent for approval. A wrong roof pitch or a misread window is a quick fix at that stage and an expensive one after the materials, landscape and lighting are on. How we work sets out the stages.
So if your drawings are incomplete, say which parts are still moving. “The façade is fixed, the landscape isn’t” is all the studio needs to know where to be careful.
It matters more for some images than others
Planning and design review. An image that goes in with an application should show what the drawings show. Gaps here should be filled by the designer, not invented by the studio, because the image may be read as part of the proposal. See what planners actually want from your render.
Sales and marketing. There is more room in the styling — furniture, people, time of day — but buyers rely on the architecture, so it must match what will be built. Our guide to off-the-plan imagery covers the rest.
Early design. Rendering a concept while the design is still moving is common and useful. Agree up front which parts are fixed, and expect to update the images when the drawings change.
Development application and construction drawings in NSW
In New South Wales, the drawings lodged with a development application are followed by a more detailed set. Before any building work starts, a construction certificate confirms that the construction plans and specifications are consistent with the development consent and comply with the Building Code.
Renders are normally built from the development application set, because that is when they are first needed. When materials, glazing or details firm up in the construction set, the affected views can be updated from the same model rather than rebuilt, so tell the studio which set it is working from.
Sources, checked October 2026: Service NSW, Apply for a construction certificate.
The minimum to get a fixed quote
Elevations, a floor plan for the levels shown, and one sentence on what the image is for. That is enough for a fixed price and a delivery date. Everything else on the list — sections, site plan, finishes, photos — makes the first draft closer.
For the full list, see how to brief a rendering studio, or print our one-page briefing checklist.
Have drawings, even incomplete ones? Send them to us — PDF, DWG, DXF, Revit, SketchUp or IFC — and you will have a fixed price, a written scope and a delivery date within two business hours. Or see exterior visualisation and interior visualisation first.