Photomontages in NSW planning — what the Land and Environment Court's policy asks for
The Land and Environment Court's 2024 photomontage policy in plain words: what it requires, and what to get right before lodgement so your imagery holds up.
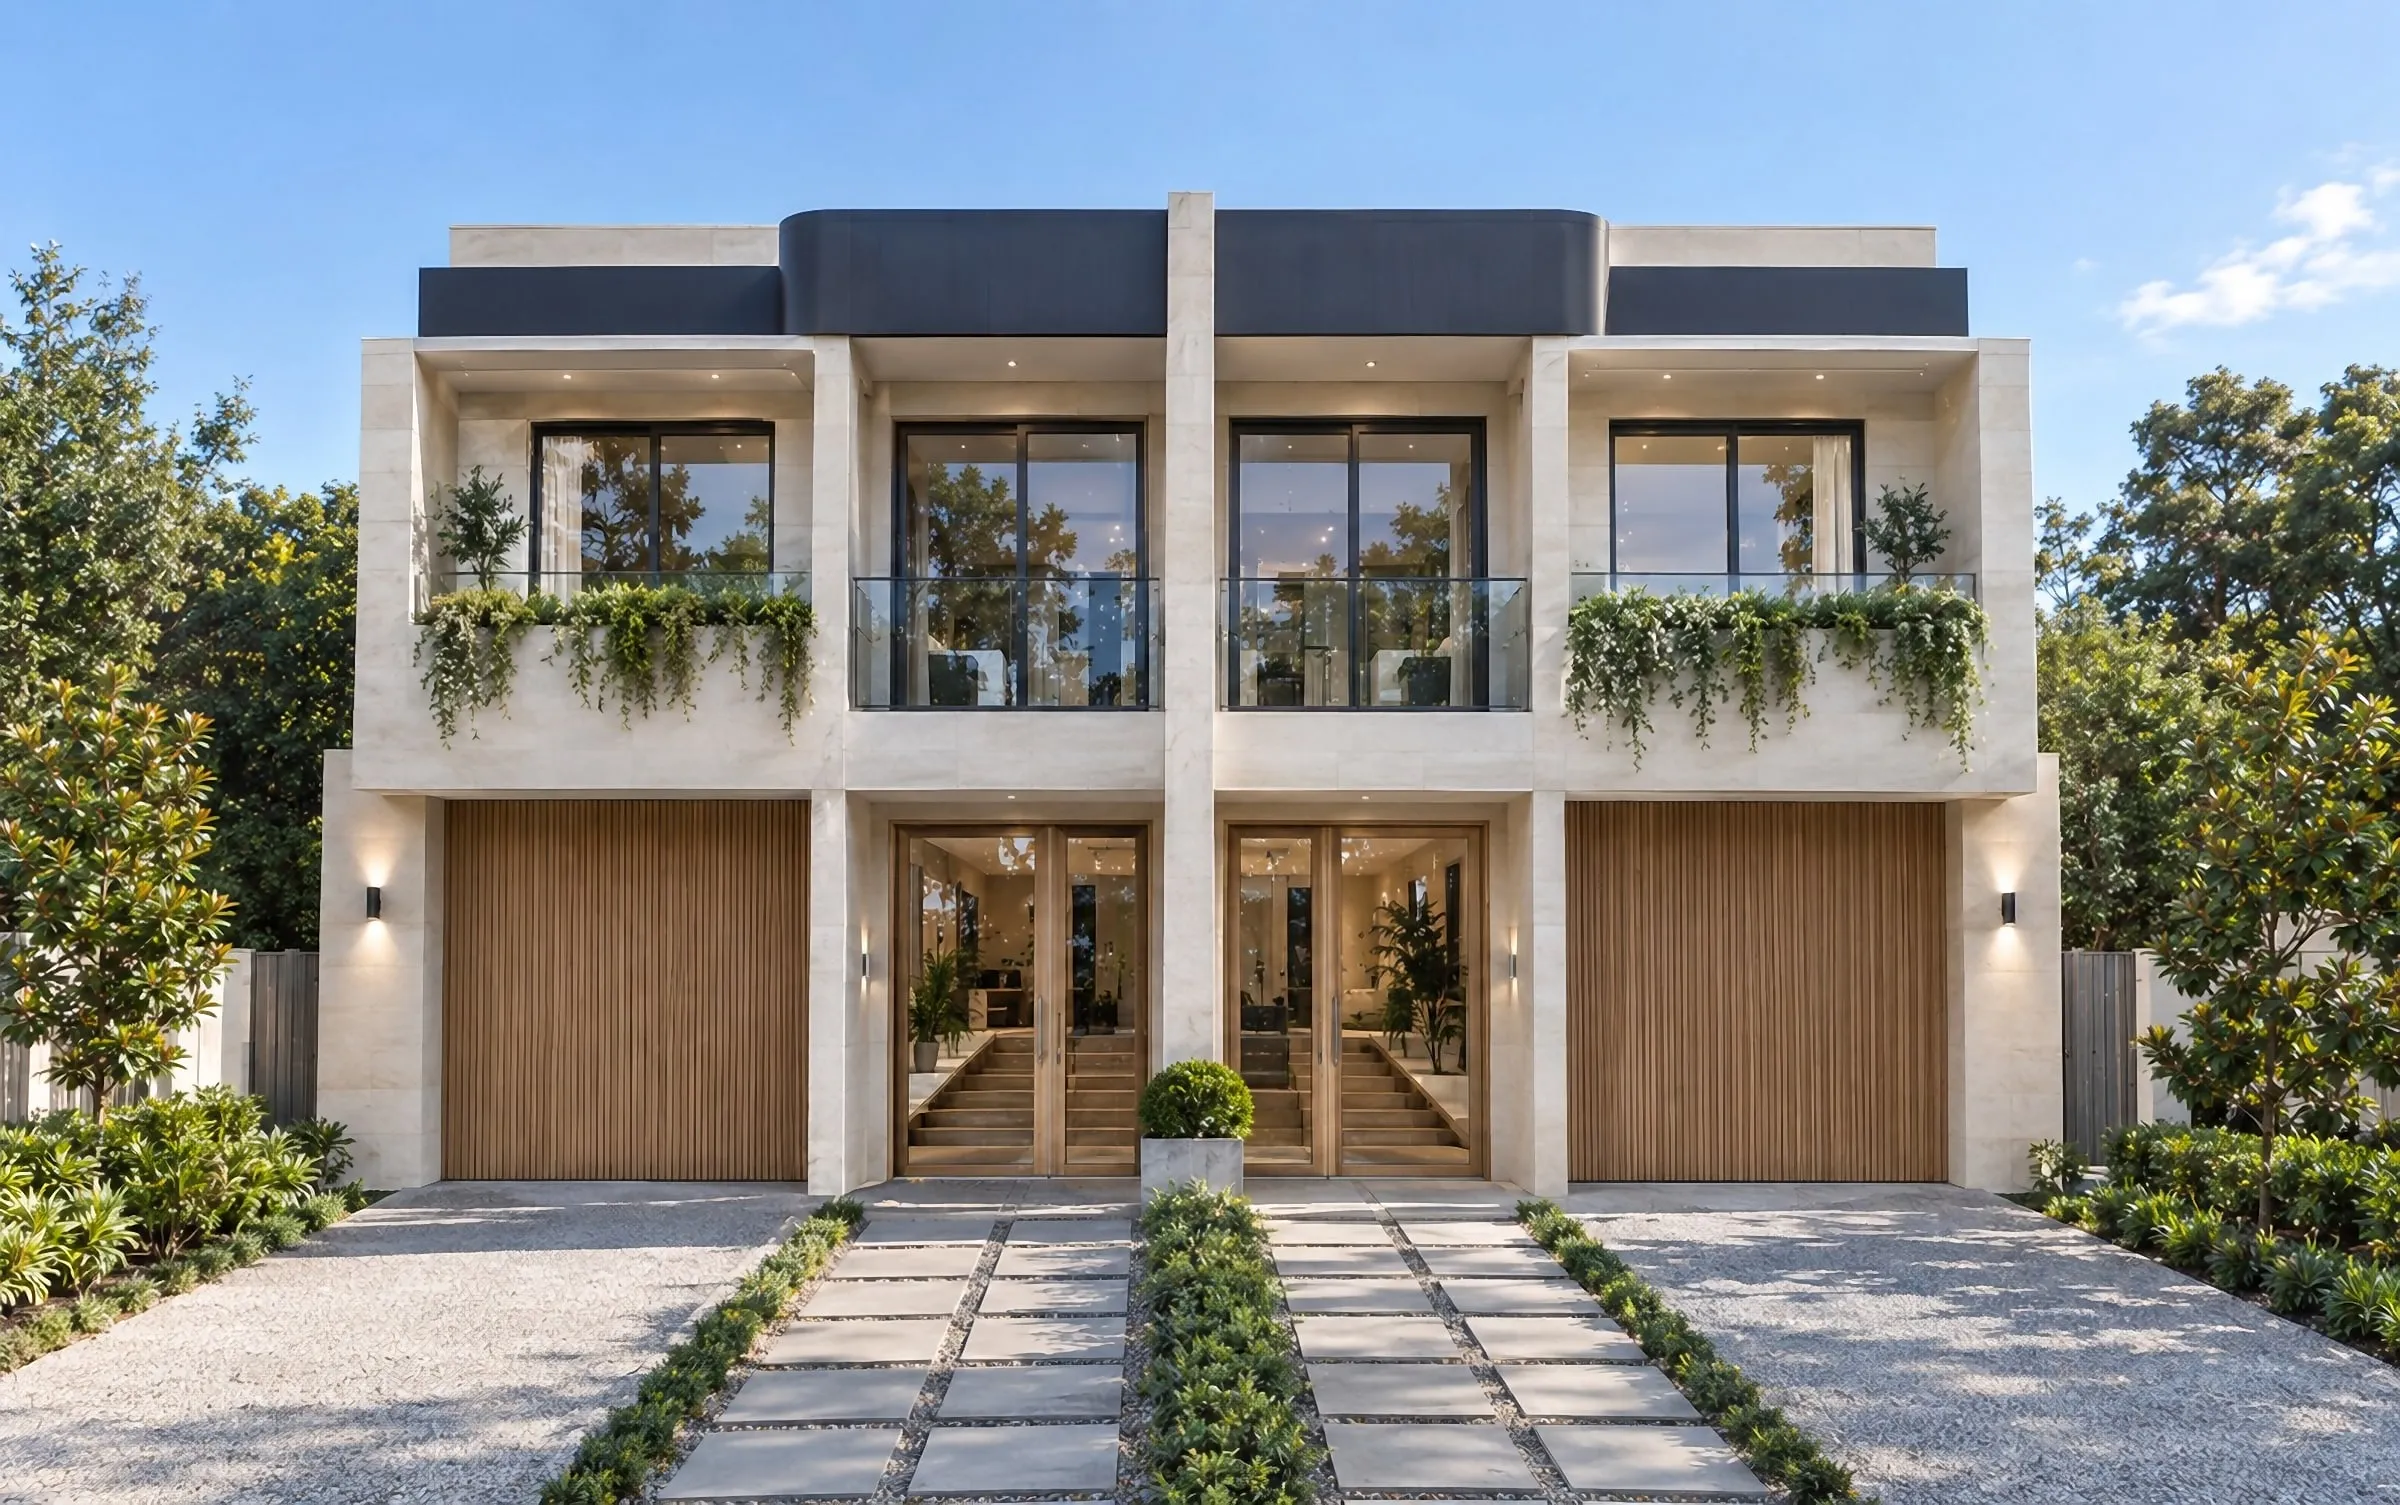
If a development in New South Wales ends up in the Land and Environment Court, any photomontage relied on as expert evidence has to meet the Court’s policy on Use of Photomontages and Visualisation Tools. The current version commenced on 17 May 2024 and replaced the policy published in 2013 (Land and Environment Court of NSW, PPL-15).
Strictly, the policy governs appeals in the Court. In practice, it is worth knowing well before then: imagery made to this standard from the start rarely needs to be redone if the application is appealed, and imagery that cannot meet it may have to be.
What counts as a photomontage
The definition is deliberately broad. Any visual tool used to depict the development counts — a still, a video, a computer-generated image, in 2D or 3D. Its stated aim is accuracy: the data in an image should be shown and read correctly, and the image should genuinely help the Court decide the appeal.
The principle behind every requirement is simple: the Court should see the most accurate picture of the development in its real location, showing the issues actually in dispute.
Three things every photomontage must include
- The existing image — the unaltered photograph of the location, viewing angle and conditions the proposal will be shown in.
- A plan or elevation showing where the camera was — its location, the target point or viewing angle, and the light source, matching the moment the photograph was taken.
- The proposal overlaid on the existing image — its built envelope and key features, as a wire frame and/or block massing.
Note what that means: a polished, fully rendered image on its own is not enough. The plain massing overlay and the camera plan sit alongside it.
If you use a photorealistic render
Where a photorealistic CGI of the development is used, the policy adds four requirements:
- the 3D camera is recreated from the photograph’s own metadata, so it is identical to the real camera;
- the environmental conditions in the render — light, time of day, weather — match the photograph;
- the colour of the render is matched to the photograph; and
- the software used to make it is stated.
The methodology statement
Each photomontage needs a detailed summary of how it was made. That includes:
- Survey data — and the name and qualifications of the surveyor whose survey the underlying model was built from.
- Topographical data — what it was, and where it came from (for example, paper plans or DWG and DXF files).
- The camera — type, lens, focal length or field of view, and sensor.
- Where the camera stood — its accurate location, alignment and direction, and its RL (reduced level), whether it was on a tripod or a drone.
- The data behind the model — the plans used for existing buildings, how the terrain was generated (surveyed spot levels, contours, a point cloud or a ground-control survey), and any variables applied such as time of day, lighting and weather.
- The reasoning — why that view was chosen, and why that lens or those conditions. A panorama has to state the panorama head and equipment used.
- Stitching — whether more than one photograph was joined to make the existing image.
- Editing — whether any adjustment was made to the final image, such as contrast, saturation or tilt-shift.
New tools are covered too
The policy applies the same principles to emerging technology: an unaltered real-world baseline, a summary of the metadata so the imagery can be verified, and overlays of the proposal that help with the real issues. Best practice is expected to be applied to keep the images accurate and free of bias.
In the courtroom
Parties should be ready to show a photomontage electronically if it is relied on or used in examining an expert. The party whose expert is being examined is responsible for providing a device that works with the courtroom’s technology, so everyone can see the same image at the same time.
What to get right before lodgement
- Choose the viewpoints early. Agree the public viewpoints the assessment will turn on before the photographs are taken, not after.
- Survey the camera positions on the day. The camera’s location and RL have to be known accurately. The reliable way is a surveyor recording them when the photographs are taken; reconstructing a camera position from an old photo afterwards is harder and less certain.
- Keep the metadata. Shoot with a camera and lens you can document, and keep the original files untouched.
- Plan for both versions. The massing overlay and the photorealistic render are both needed; build the model so it can produce both.
- Don’t edit what you can’t disclose. Any adjustment to the final image has to be stated, so make only the adjustments you are comfortable explaining.
- Build once. A model accurate enough for this standard is also the best starting point for the marketing imagery that follows.
Where we fit
As an architectural visualisation studio, we make both: rendered context views from public viewpoints, built on survey data, and photomontages to this standard. For a photomontage, the camera positions and levels come from your surveyor when the photographs are taken, so tell us early; both sets are then built from the same model and agree. Our page on photomontages sets out how we make each view, what to send and how it is quoted. Where a neighbour’s view is the question, our guide to height poles and view loss in NSW sets out the Court’s four Tenacity steps and what councils ask of height poles.
See how we approach planning imagery, or send us the drawings and tell us where the application is headed.